Homemade Greek Yogurt: Economical, Wholesome, & Delicious
Have you ever wondered if there's a secret to unlocking that perfectly thick, tangy, and protein-packed Greek yogurt you love, without the hefty price tag of store-bought versions? The answer is a resounding yes! Learning
how to make Greek yogurt at home is not just a culinary skill; it's a journey into a world of incredible flavor, health benefits, and significant savings. Forget about unnecessary thickeners, stabilizers, or artificial flavors – when you make it yourself, you control every single wholesome ingredient.
For years, many of us have enjoyed the simple pleasure of homemade regular yogurt. It’s a staple for breakfast, a base for smoothies, and a healthy snack. But the revelation of transforming that creamy plain yogurt into *Greek* yogurt is a true game-changer. That extra step of straining elevates the texture to a luxurious, almost dessert-like consistency, making it feel wonderfully indulgent while remaining incredibly good for you. If you're ready to experience the satisfying difference of homemade Greek yogurt, you’re in the right place. Let's dive into this surprisingly simple and rewarding process.
Why Embrace Homemade Greek Yogurt? The Triple Threat of Benefits
Before we get to the "how-to," let's explore *why* making your own Greek yogurt is such a fantastic idea. The benefits extend beyond just taste, touching upon your wallet, your health, and your culinary creativity.
*
Economical Advantage: This is perhaps one of the most compelling reasons for many home cooks. Store-bought Greek yogurt, especially good quality, often comes with a premium price. When you make it yourself, your main expenses are milk and a small amount of starter yogurt. Over time, these savings add up considerably, proving that wholesome eating doesn't have to break the bank.
*
Wholesome Goodness, Uncompromised Control: This is where homemade truly shines. By making your own, you have absolute control over the ingredients. You can choose organic milk, ensure no added sugars, and entirely avoid the stabilizers, gums, and artificial flavors often found in commercial products. This makes your homemade Greek yogurt a pure, probiotic-rich food that supports gut health and overall well-being. It’s a treat you can feel genuinely good about serving to your family.
*
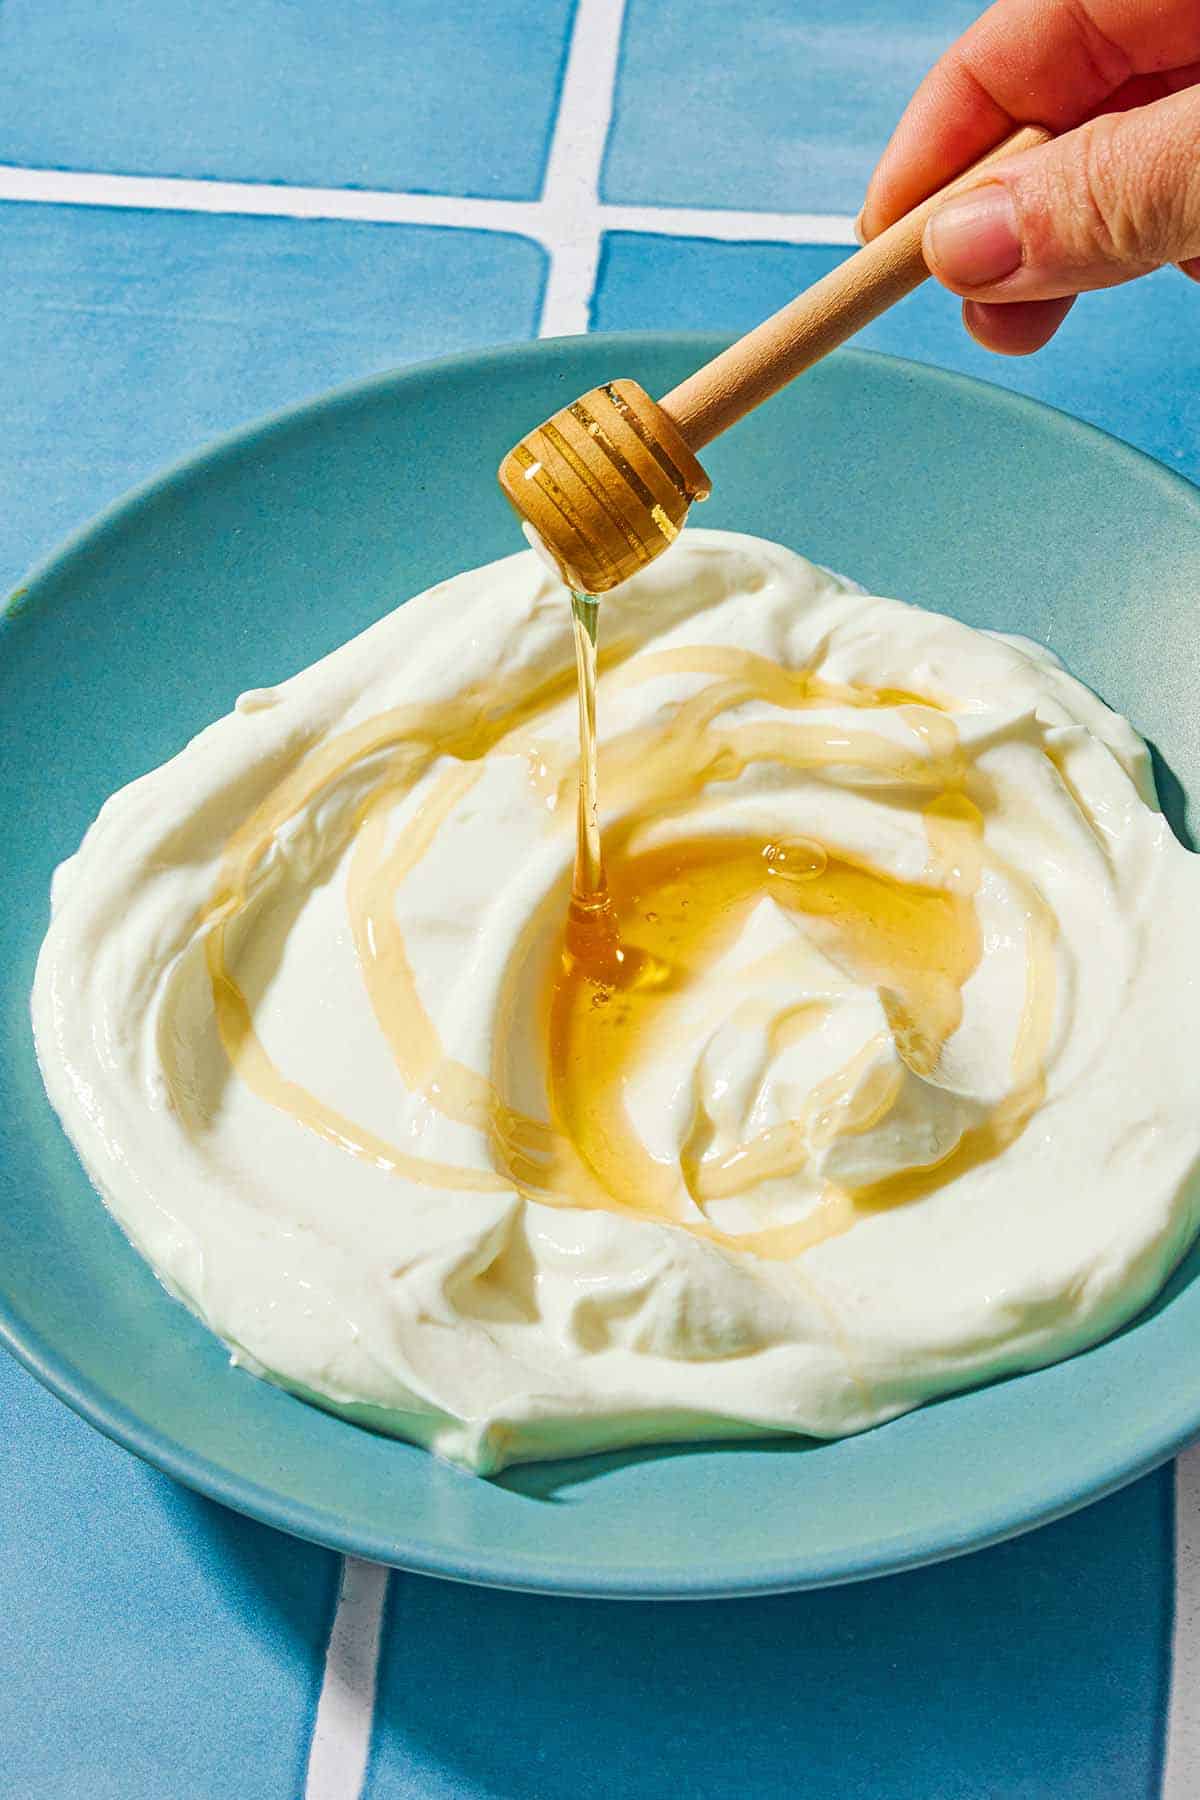
Delicious Versatility: The thick, creamy texture of homemade Greek yogurt makes it incredibly versatile. Beyond simply enjoying it with fresh fruit, honey, or a swirl of fruit jam, consider these delicious applications:
*
Smoothies: Adds body, protein, and a delightful tang.
*
Dips & Spreads: The perfect base for savory dips like tzatziki or a creamy spread for sandwiches.
*
Baking: Can replace sour cream or buttermilk in many recipes for a lighter, tangier result.
*
Desserts: A healthier alternative to whipped cream, or frozen for a simple, healthy frozen yogurt treat.
The Simple Essentials: What You'll Need to Begin
One of the most appealing aspects of learning
how to make Greek yogurt is the minimal equipment and ingredients required. You likely already have most of what you need in your kitchen!
*
Milk: Approximately 1 liter (or 1 quart). While any milk can work, for the creamiest, most indulgent Greek yogurt, we highly recommend using *whole milk*. The higher fat content contributes significantly to the richness and texture. Low-fat or skim milk can also be used, but the resulting yogurt will be less thick and creamy.
*
Yogurt Starter: About 2 tablespoons of plain yogurt with live active cultures. This is crucial as it contains the beneficial bacteria that will transform your milk into yogurt. When starting out, simply pick up a small cup of plain, unsweetened, and unflavored yogurt from the store. Once you’ve made your first batch, you can reserve a couple of spoonfuls from your homemade yogurt to kickstart your next batch, creating a sustainable cycle.
*
Basic Kitchen Tools:
* A medium-sized pot
* A whisk or spoon
* A reliable thermometer (optional but highly recommended for precision)
* Clean containers for incubation
* A strainer and cheesecloth (or a clean kitchen towel/pillowcase) for the Greek yogurt transformation.
The Foundational Steps: Making Your Basic Homemade Yogurt
Before you get to the glorious Greek yogurt, you first need to make regular homemade yogurt. This process is straightforward and lays the groundwork for that ultimate creamy texture. For a deeper dive into these foundational steps for perfect creaminess, you might want to read
How to Make Greek Yogurt at Home: Easy Steps for Creaminess.
1. Heat the Milk to Perfection
Pour your chosen milk into a clean pot. Slowly heat it over medium heat, stirring occasionally to prevent scorching. The goal here is to bring the milk to a temperature of 180°F (82°C). This step is more important than you might think: heating the milk denatures the proteins, causing them to unwind and reorganize. This structure is what helps the yogurt thicken and prevents it from becoming too runny.
If you don't have a thermometer, look for visual cues: the milk will be steaming gently, and small bubbles will begin to form around the edges of the pot, but it should not be at a rolling boil.
2. Cool the Milk to Culture-Friendly Temperatures
Once the milk reaches 180°F, remove the pot from the heat. Now, you need to let it cool down to a specific temperature range: 110°F–115°F (43°C–46°C). This temperature range is crucial because it's where your yogurt cultures (the beneficial bacteria) thrive. If the milk is too hot, it will kill the cultures; if it's too cool, they won't activate properly, resulting in thin yogurt.
Again, a thermometer is best here. If you're going by feel, a simple test is to dip a clean finger into the milk for a few seconds. It should feel comfortably warm, not hot, indicating it's safe for the cultures.
3. Introduce Your Yogurt Starter
Once the milk has cooled to the ideal temperature, gently whisk in your 2 tablespoons of plain yogurt with live active cultures. Make sure it's thoroughly incorporated. The live bacteria in this starter are what will "seed" your milk, turning it into yogurt.
4. Incubate for Culturing
Pour the milk and starter mixture into a clean container (or individual jars if you prefer). Now, the magic happens during incubation. The goal is to keep the mixture consistently warm (around 100°F-115°F / 38°C-46°C) for an extended period, allowing the cultures to multiply and ferment the milk. The longer it incubates, the tangier and thicker your yogurt will become. Typical incubation times range from 6 to 12 hours.
There are several easy ways to incubate:
*
Oven Method: Place the container in a warm (but *turned off*) oven. You can briefly warm the oven to its lowest setting, then turn it off before placing the yogurt inside.
*
Insulated Cooler: Place the container in an insulated cooler, possibly with a few jars of warm water to maintain temperature.
*
Wrapped in Towels: Simply wrap the container in thick towels or a blanket and place it in a warm spot in your kitchen.
*
Yogurt Maker: If you have one, these devices are designed specifically for precise temperature control during incubation.
Avoid disturbing the yogurt during this time, as excessive movement can interfere with the setting process.
5. Chill for Firmness
After incubation, your yogurt will have set. Place it in the refrigerator for at least 4 hours. Chilling not only firms up the yogurt and develops its smooth texture but also slows down the fermentation process, preventing it from becoming overly tangy. Congratulations, you’ve made delicious homemade plain yogurt!
The Greek Yogurt Transformation: Straining for Perfection
Now comes the secret to that coveted Greek yogurt texture. Greek yogurt is simply *strained yogurt*. This additional step removes excess whey, concentrating the milk solids and resulting in that characteristic thick, creamy, and protein-rich product we all love. For an in-depth look at this crucial step, don't miss
The Secret to Thick Greek Yogurt: Strain for Creamy Protein.
How to Strain Your Yogurt:
1.
Prepare Your Straining Setup: You'll need a large bowl, a colander or fine-mesh strainer, and your chosen straining material. Excellent options include:
*
Cheesecloth: Layer several pieces for best results.
*
Clean Kitchen Towel or Pillowcase: Ensure it's never been washed with fabric softener, which can leave residues and off-flavors.
*
Nut Milk Bag: These are often made of fine nylon mesh and work wonderfully.
*
Coffee Filters: For smaller batches, layered coffee filters can also work in a pinch.
2.
Set Up: Line your colander/strainer with your chosen material and place it over the deep bowl. The bowl will collect the whey.
3.
Pour and Strain: Gently pour your freshly made, chilled yogurt into the lined strainer.
4.
Refrigerate and Wait: Place the entire setup (bowl with strainer/yogurt) into the refrigerator. Let it strain for 2 to 6 hours, or even longer, depending on how thick you desire your Greek yogurt to be.
*
2-3 hours: Yields a firm, thick yogurt similar to many store-bought Greek varieties.
*
4-6 hours: Produces an extra-thick, almost spreadable yogurt, perfect for dips or a rich breakfast.
*
Overnight (8+ hours): Can create a very dense product, sometimes called "yogurt cheese" or labneh, which is fantastic for savory applications.
As the whey drains away, your yogurt will become progressively thicker. You can periodically check the consistency until it reaches your preference. Once strained, transfer your luscious homemade Greek yogurt to an airtight container and store it in the refrigerator.
Don't Discard the Whey!
The yellowish liquid that drains off is whey, and it's a valuable byproduct! It’s packed with protein, probiotics, and minerals. Don’t pour it down the drain!
* Use it in smoothies for an extra protein boost.
* Substitute it for water or milk in baking recipes (bread, pancakes).
* Add it to soups or stews for added depth.
* Use it to water acid-loving plants in your garden.
Final Thoughts: Enjoy Your Homemade Creation!
Mastering
how to make Greek yogurt at home is a simple yet profoundly rewarding culinary adventure. From the cost savings and nutritional benefits to the sheer joy of creating something so delicious and wholesome from scratch, it’s an endeavor well worth your time. With just two ingredients and a little patience, you can consistently produce luxurious, creamy Greek yogurt tailored exactly to your taste. Experiment with different straining times, flavor combinations, and enjoy the endless possibilities this homemade staple brings to your kitchen. Get ready to impress your taste buds and nourish your body with every spoonful!