How to Make Greek Yogurt at Home: Unlock Creaminess and Flavor
Are you ready to transform your kitchen into a hub of wholesome goodness? If you've ever wondered
how to make Greek yogurt at home, you're about to discover a remarkably simple and rewarding process. Forget those pricey, often additive-filled store-bought versions; homemade Greek yogurt is a revelation – rich, creamy, packed with probiotics, and incredibly versatile. It's a staple that not only tantalizes your taste buds but also offers significant health benefits and puts you in complete control of what you consume.
Having personally embraced the art of homemade yogurt, I can attest to the sheer satisfaction of creating this luxurious dairy product from scratch. It’s a game-changer for everything from breakfast parfaits to savory dips. The journey from regular yogurt to the thick, velvety texture of Greek yogurt is surprisingly straightforward, and once you master it, you’ll wonder why you ever bought it pre-made.
Why Make Greek Yogurt at Home? The Unbeatable Benefits
The allure of homemade Greek yogurt goes far beyond just taste. There are compelling reasons why this kitchen endeavor is absolutely worth your time:
*
Economical Advantage: Store-bought Greek yogurt can be surprisingly expensive, especially for a family that consumes it regularly. Learning
how to make Greek yogurt at home drastically cuts down on costs, often costing just a fraction of the supermarket price. This makes it a sustainable choice for your budget without compromising on quality or nutrition. For more insights into the financial and health benefits, explore
Homemade Greek Yogurt: Economical, Wholesome, & Delicious.
*
Pure, Wholesome Ingredients: When you make your own, you dictate every ingredient. Say goodbye to unnecessary thickeners, stabilizers, artificial flavors, and added sugars. You get pure milk and live active cultures – nothing more, nothing less. This is especially important for those with dietary restrictions or a desire for clean eating.
*
Superior Freshness and Taste: There’s an undeniable difference in flavor and freshness between homemade and store-bought. Your homemade Greek yogurt will have a bright, clean tang and a remarkably smooth texture that processed versions often can’t match.
*
Rich in Probiotics and Protein: Greek yogurt is celebrated for its high protein content and beneficial probiotics. The straining process concentrates the milk solids, resulting in a product denser in protein, which helps with satiety and muscle repair. The live active cultures support gut health and boost immunity.
*
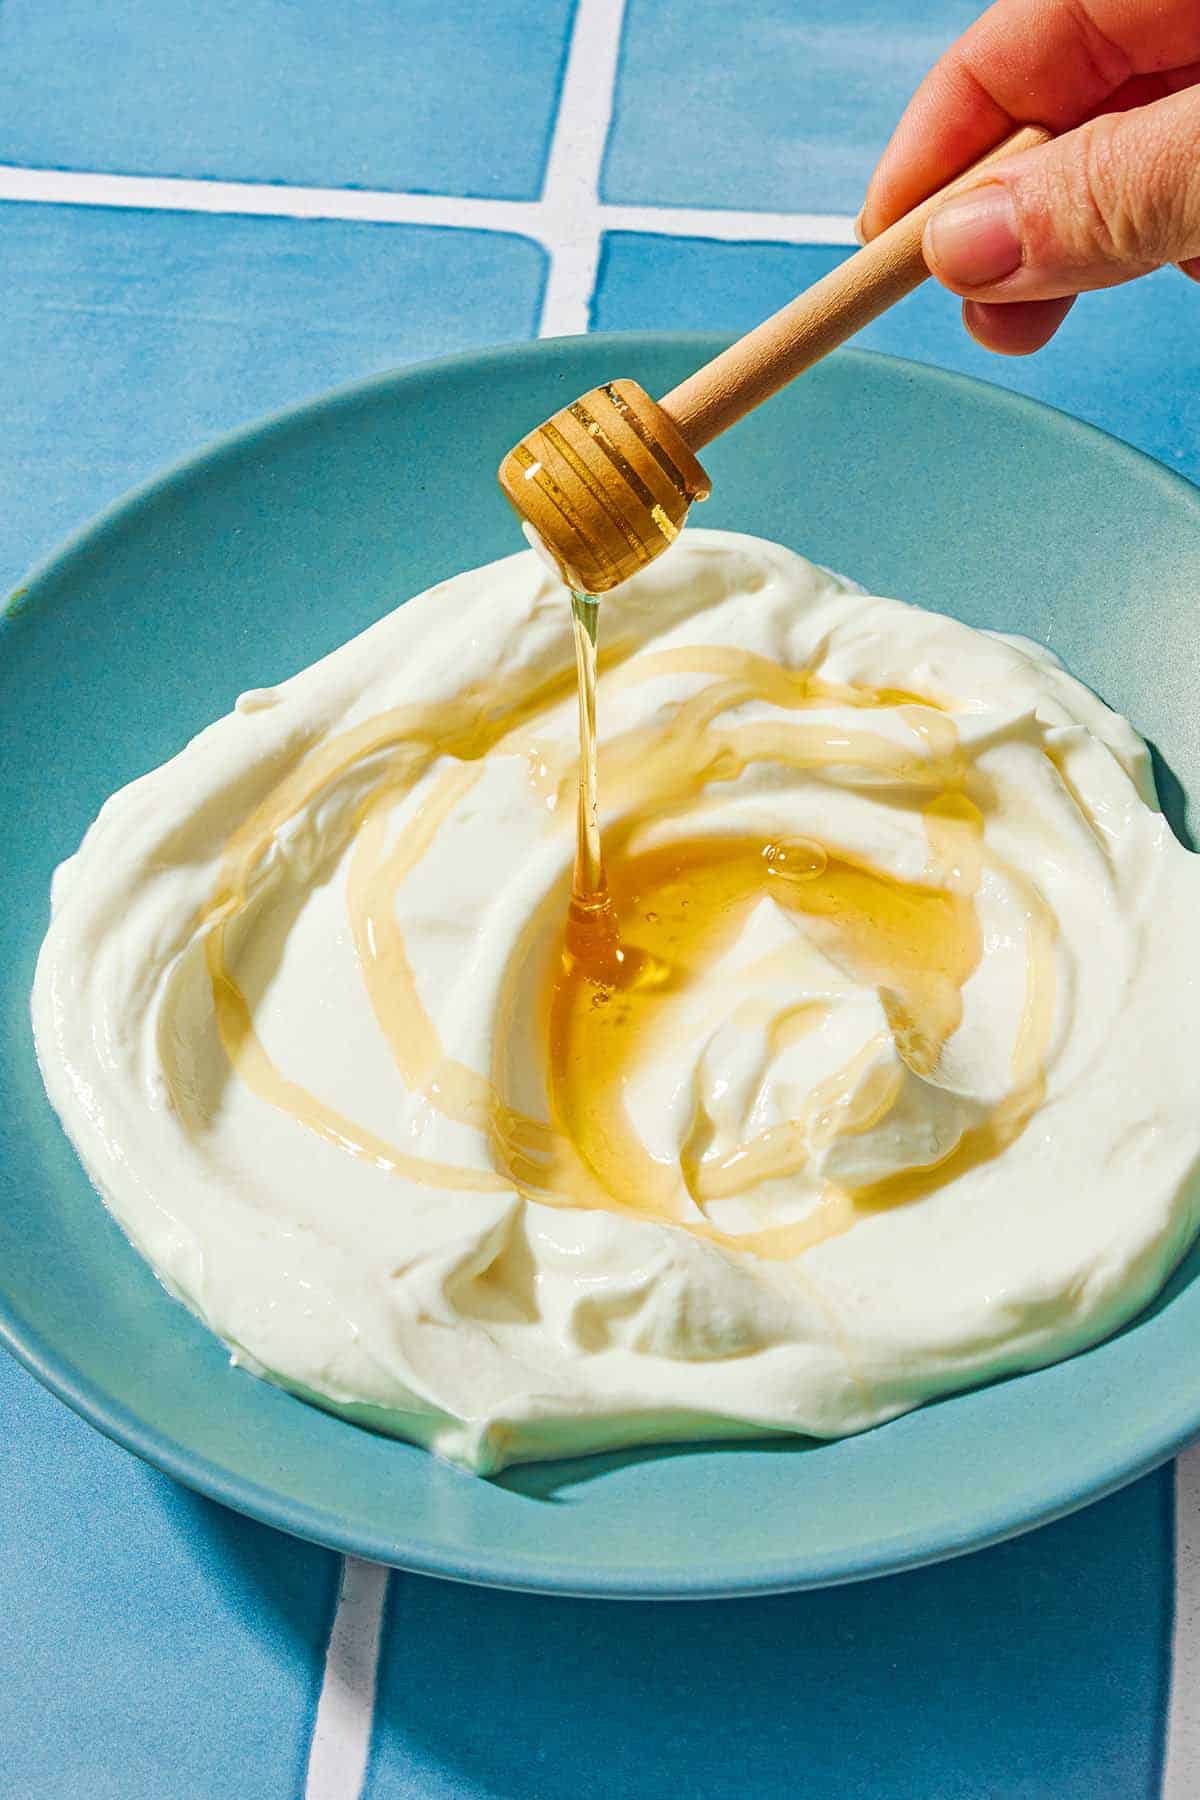
Unrivaled Versatility: From a simple breakfast with fruit and honey to a base for creamy sauces, dips like tzatziki, smoothies, and even baking, homemade Greek yogurt is an incredibly adaptable ingredient. Its thick consistency makes it an excellent substitute for sour cream or mayonnaise in many recipes.
Essential Ingredients and Equipment for Your Homemade Greek Yogurt Journey
One of the most appealing aspects of making yogurt at home is that you don't need a pantry full of specialized gadgets. The essentials are likely already in your kitchen.
Key Ingredients:
*
Milk: You'll need 1 liter (or 1 quart) of milk. While any milk can technically work,
whole milk is highly recommended for the creamiest, most luxurious Greek yogurt. The higher fat content contributes significantly to the richness and texture. Low-fat or skim milk will yield a thinner, less indulgent result, but is still viable if preferred. Opt for pasteurized milk, but avoid ultra-pasteurized (UHT) milk as it can sometimes struggle to set properly.
*
Yogurt Starter: This is the magic ingredient – 2 tablespoons of plain yogurt with live active cultures. This starter introduces the beneficial bacteria that will ferment your milk into yogurt. For your first batch, simply purchase a small container of plain, unsweetened, unflavored yogurt from the store. Ensure it explicitly states "live active cultures" on the label. Once you have your first homemade batch, you can use a couple of tablespoons from that batch to start your next, creating a continuous cycle of deliciousness!
Necessary Equipment:
*
Medium-sized Pot: For heating your milk.
*
Kitchen Thermometer: Absolutely invaluable for ensuring your milk reaches and cools to the correct temperatures. While not strictly mandatory (there are finger tests), it greatly increases your chances of success and consistency.
*
Whisk: For stirring in your starter culture.
*
Clean Container with a Lid: For incubating your yogurt. A glass jar, a ceramic bowl, or even the pot itself can work, as long as it's clean.
*
Strainer: A fine-mesh strainer is essential for the Greek yogurt straining process.
*
Cheesecloth, Clean Pillowcase, or Kitchen Towel: To line your strainer. Cheesecloth is ideal, but a clean, thin cotton pillowcase or a lint-free kitchen towel works perfectly too.
*
Deep Bowl: To place under your strainer and catch the whey.
Step-by-Step Guide: How to Make Greek Yogurt from Scratch
Let’s dive into the two main phases of creating your exquisite homemade Greek yogurt.
Phase 1: Creating Your Base Yogurt
This initial phase focuses on culturing the milk to create regular, plain yogurt.
1.
Heat the Milk: Pour your liter of milk into your pot. Gently heat it over medium flame, stirring occasionally to prevent scorching. Your goal is to bring the milk to
180°F (82°C). This critical step denatures the milk proteins, allowing them to bind more effectively and contributing to a thicker final yogurt. If you don't have a thermometer, heat the milk until it's steaming, and small bubbles form around the edges of the pot, but *do not let it boil vigorously*.
2.
Cool the Milk: Immediately remove the pot from the heat. Allow the milk to cool down to a temperature between
110°F–115°F (43°C–46°C). This specific temperature range is crucial because it's where your beneficial yogurt cultures thrive. If the milk is too hot, it will kill the cultures; too cool, and they won't activate effectively. A simple "finger test" (though less precise than a thermometer) involves dipping a clean finger into the milk – it should feel comfortably warm, not hot, and you should be able to keep your finger in for several seconds without discomfort.
3.
Add Your Yogurt Starter: Once the milk has cooled to the correct temperature, add the 2 tablespoons of plain yogurt starter. Whisk gently but thoroughly until the starter is completely incorporated into the warm milk. Avoid over-mixing, but ensure there are no clumps of starter.
4.
Let It Incubate: Pour the milk and starter mixture into your clean container. Cover it with a lid. Now, the beneficial bacteria need a warm, consistent environment to work their magic. There are several effective ways to incubate your yogurt:
*
Oven Method: Place the container in a *turned off* oven with just the light on (the light provides enough warmth).
*
Cooler Method: Fill a cooler with some warm water (not hot enough to kill cultures) or place the container wrapped in a towel inside a pre-warmed cooler.
*
Towel Wrap: Simply wrap the container snugly in a thick towel and place it in a warm spot in your kitchen.
*
Near a Warm Stovetop: If you've been cooking, the residual warmth from a turned-off stovetop can be sufficient.
Let your yogurt incubate for
10-12 hours. The longer it incubates, the tangier and thicker your yogurt will become. Avoid disturbing it during this period.
5.
Chill Your Yogurt: Once the incubation period is complete, your yogurt should be set – it will look like a wobbly custard. Place the container in the refrigerator for at least 4 hours. This chilling process halts the fermentation, firms up the yogurt, and develops its smooth, creamy texture. Congratulations, you've just made homemade plain yogurt!
Phase 2: Transforming Regular Yogurt into Greek Yogurt (The Straining Secret)
The "secret" to Greek yogurt's luscious thickness and higher protein content lies in one simple step: straining. Greek yogurt is essentially strained yogurt, where the yellowish liquid called whey is removed.
1.
Set Up Your Straining Station: Place a fine-mesh strainer over a deep bowl. Line the strainer with a large piece of cheesecloth, a clean cotton pillowcase, or a thin kitchen towel. Ensure the lining extends over the sides, creating a pouch for the yogurt.
2.
Pour and Strain: Gently pour your freshly made and chilled plain yogurt into the lined strainer. The whey will immediately start to drip into the bowl below.
3.
Refrigerate and Wait: Place the entire straining setup (strainer with yogurt, sitting over the bowl) into the refrigerator. Let it strain for
2–6 hours, depending on how thick you desire your Greek yogurt to be.
* For a slightly thick, creamy texture (like traditional plain yogurt), 2-3 hours might suffice.
* For a very thick, almost spreadable consistency (perfect for dips or a sour cream substitute), aim for 4-6 hours, or even longer for an exceptionally firm result.
The longer it strains, the more whey is removed, leading to a denser, higher-protein Greek yogurt. To learn more about mastering this crucial step, check out
The Secret to Thick Greek Yogurt: Strain for Creamy Protein.
4.
Enjoy Your Greek Yogurt: Once your yogurt has reached your desired thickness, carefully spoon it into an airtight container. Your homemade Greek yogurt is now ready to enjoy! Store it in the refrigerator for up to 1-2 weeks. Don’t discard the strained whey – it's packed with nutrients and can be used in smoothies, baking, or even to water plants.
Tips for Perfect Homemade Greek Yogurt
*
Temperature is Key: Invest in a good kitchen thermometer. Precise temperatures for heating and cooling the milk are the biggest determinants of success.
*
Cleanliness Counts: Always use clean, sanitized equipment to prevent unwanted bacteria from interfering with your yogurt cultures.
*
Don't Rush Incubation: Give your cultures ample time to work. While 10-12 hours is a good baseline, you can experiment to find your preferred tanginess and thickness.
*
Save Your Whey: The liquid byproduct, whey, is nutritious! Use it in smoothies, as a liquid in bread making, or even as a fertilizer for acid-loving plants.
*
Flavoring Fun: Once your Greek yogurt is made, you can stir in honey, maple syrup, fresh fruit, vanilla extract, or spices like cinnamon. Add these *after* the yogurt is made and chilled.
Conclusion
Making Greek yogurt at home is an incredibly gratifying experience that delivers a superior product to anything you can buy in a store. From the simple two-ingredient base to the magical transformation through straining, each step is manageable and rewarding. By following these easy steps, you can consistently create creamy, tangy, protein-packed Greek yogurt that’s perfectly tailored to your taste and free from unwanted additives. So, gather your ingredients, set aside a little time, and prepare to elevate your culinary game with the wholesome deliciousness of homemade Greek yogurt. Your taste buds, and your wallet, will thank you!